Eclipse를 이용하여 간단한 login 기능의 Servlet Project를 만들어 본다.
Create Project
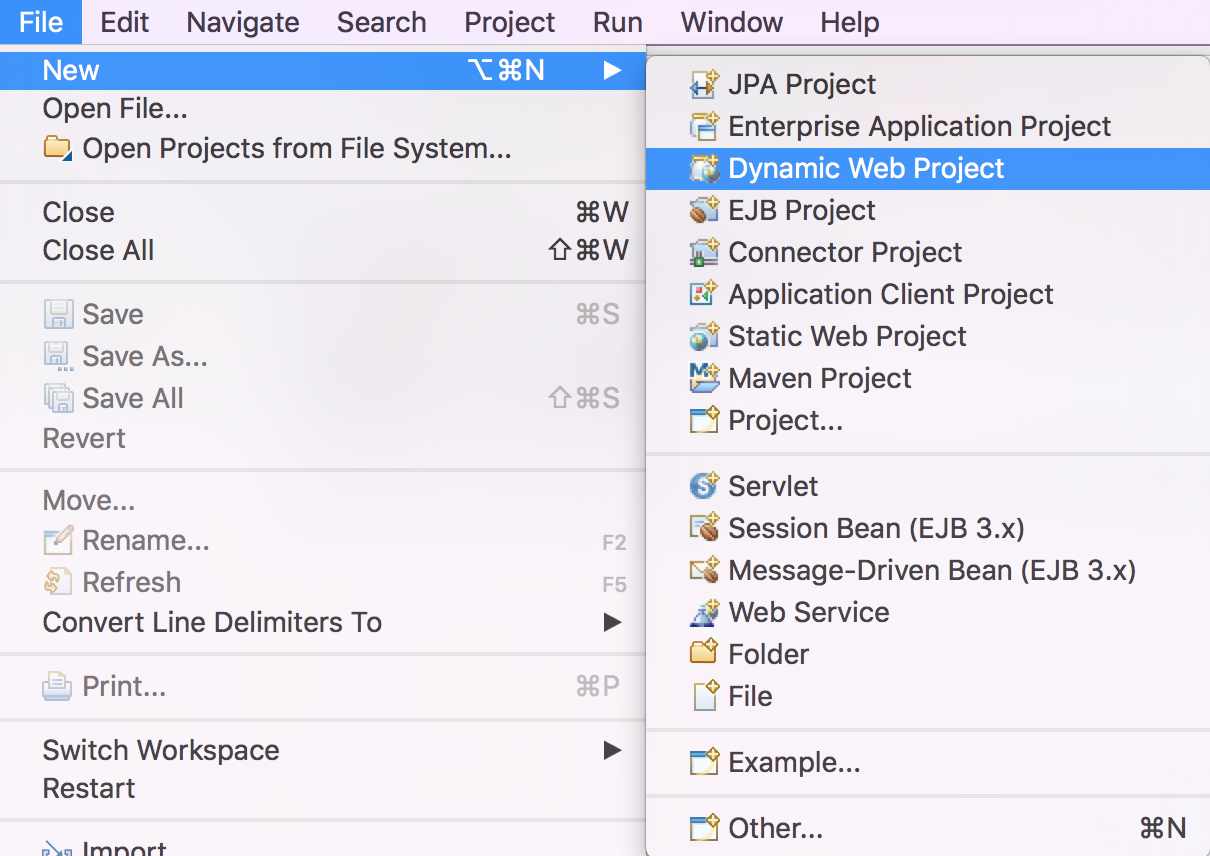
File -> New -> Dynamic Web Project 를 선택하여 새로운 프로젝트를 생성한다.
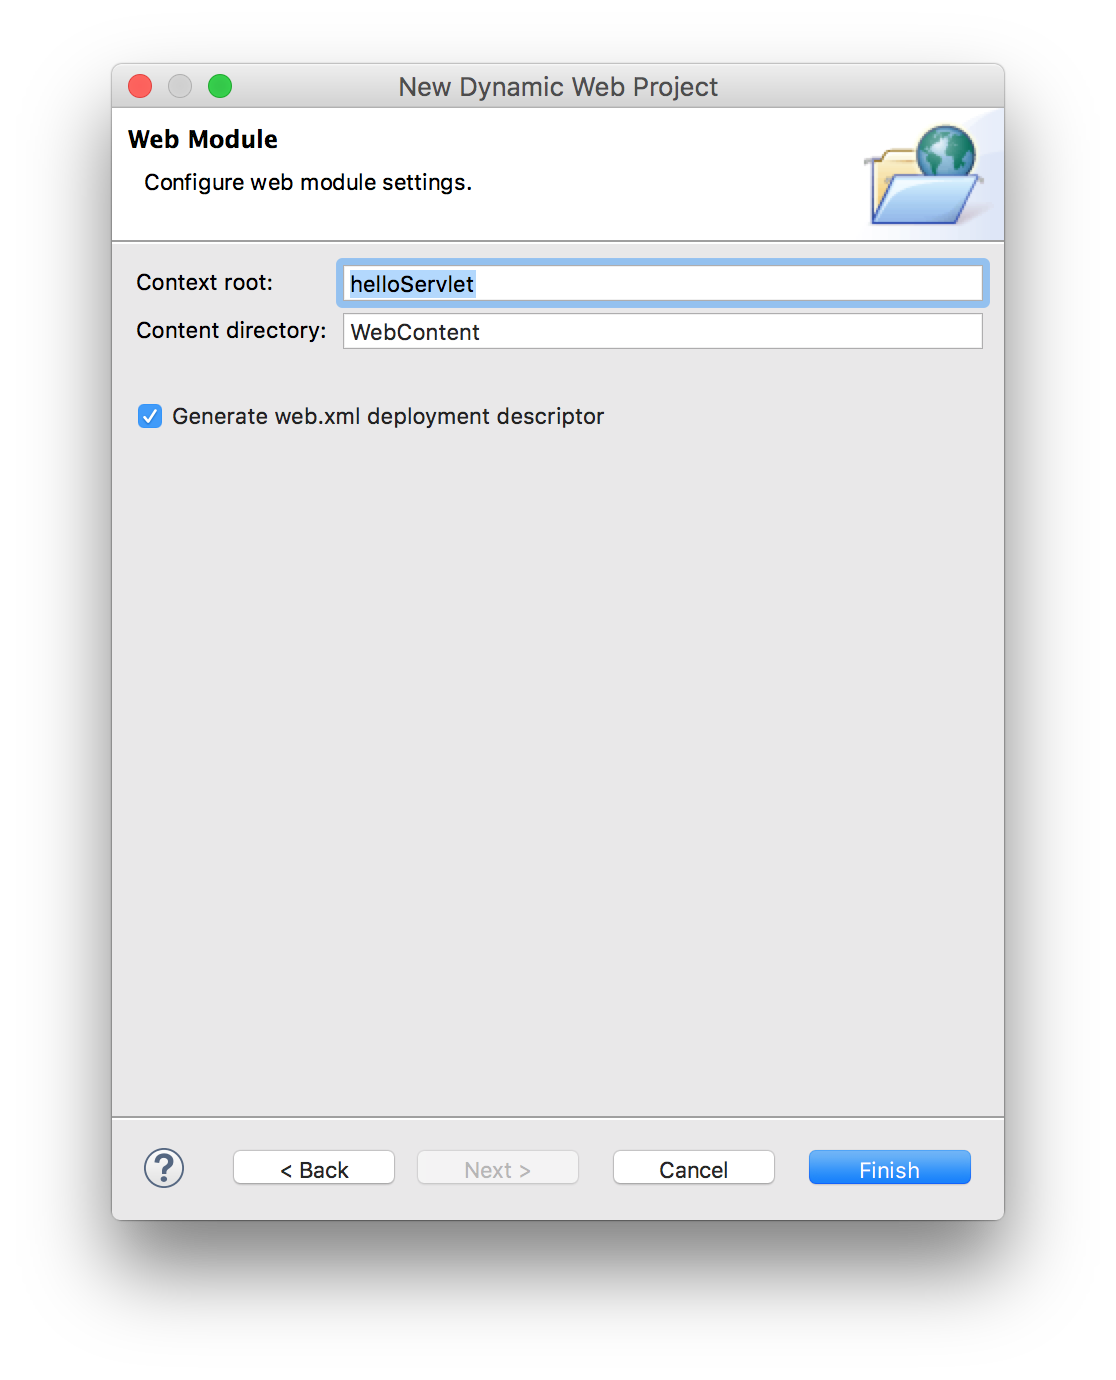
프로젝트 이름을 입력하고 web.xml 파일을 생성한다는 체크박스를 선택하고 Finish 버튼을 누른다.
web.xml 파일을 열어보면 welcome-file라는 태그가 많이 존재하는 것을 볼 수 있다. 일반적으로 웹 사이트를 url을 통해 호출하면 www.google.com/index.html 같이 뒷 부분에 반환되는 file을 사용자가 명시하지 않더라도 welcome-file 리스트 중에 선택하여 반환 해준다.
<?xml version="1.0" encoding="UTF-8"?>
<web-app xmlns:xsi="http://www.w3.org/2001/XMLSchema-instance" xmlns="http://xmlns.jcp.org/xml/ns/javaee" xsi:schemaLocation="http://xmlns.jcp.org/xml/ns/javaee http://xmlns.jcp.org/xml/ns/javaee/web-app_3_1.xsd" id="WebApp_ID" version="3.1">
  <display-name>helloServlet</display-name>
  <welcome-file-list>
    <welcome-file>index.html</welcome-file>
    <welcome-file>index.htm</welcome-file>
    <welcome-file>index.jsp</welcome-file>
    <welcome-file>default.html</welcome-file>
    <welcome-file>default.htm</welcome-file>
    <welcome-file>default.jsp</welcome-file>
  </welcome-file-list>
</web-app>
Create index.html
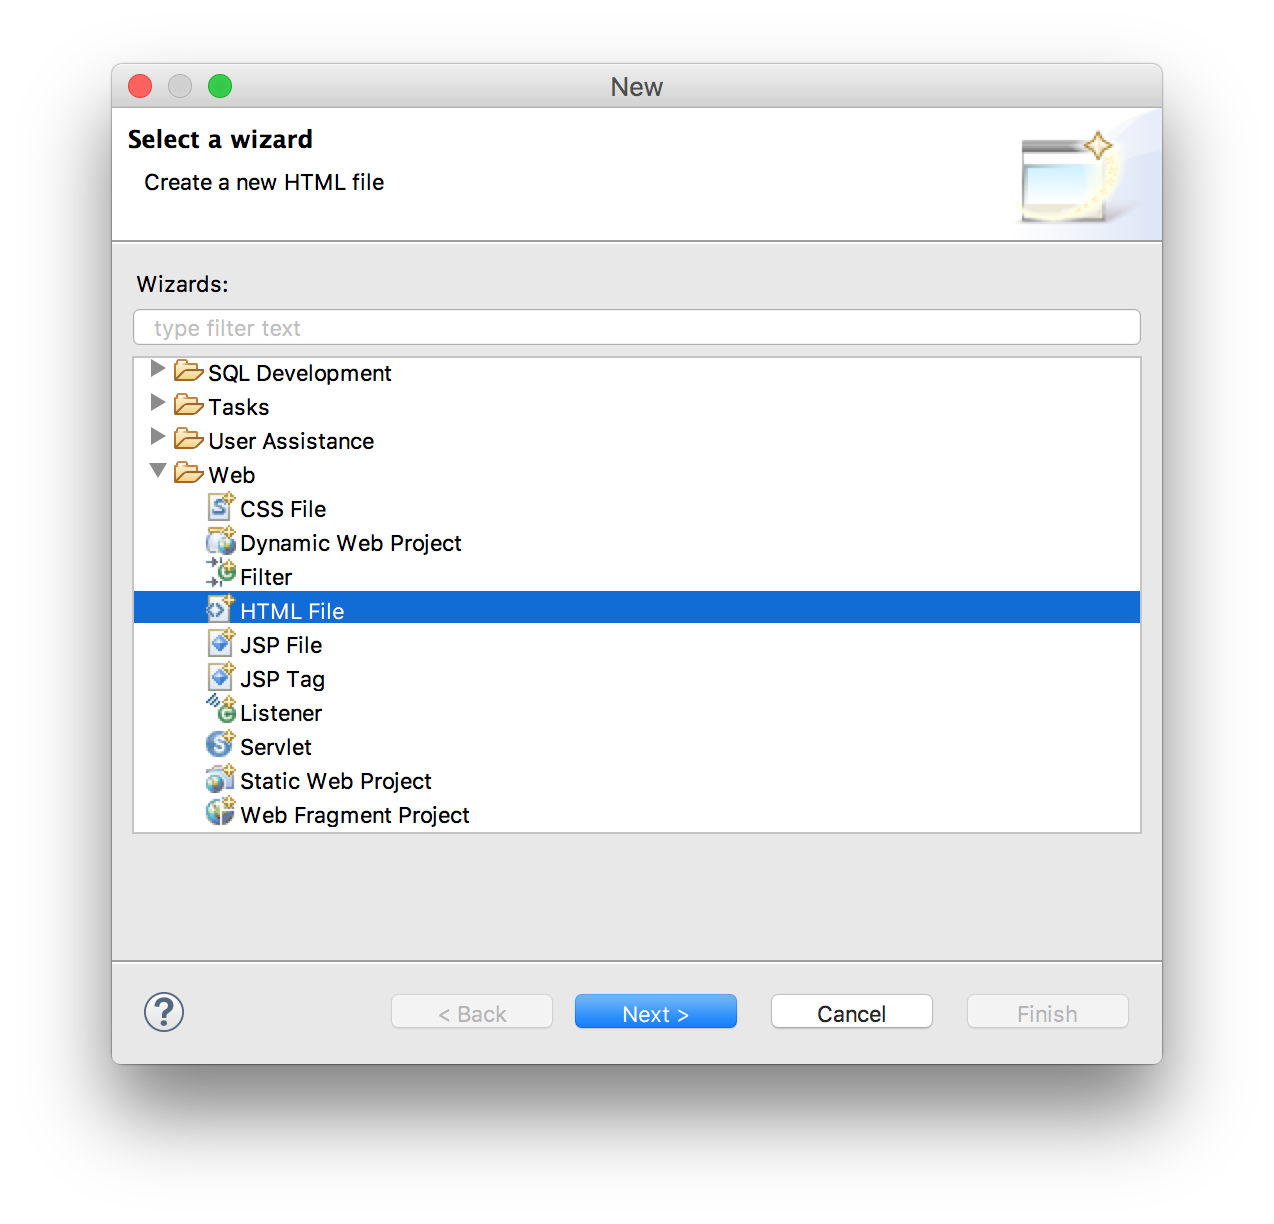
웹 사이트를 호출했을 때 반환되는 index.html 을 생성한다. WebContent 폴더를 우클릭하여 New -> HTML File을 선택한다.
아래와 username과 password이 존재하는 form의 html 코드를 작성해준다.
<!DOCTYPE html>
<html>
<head>
<meta charset="UTF-8">
<title>Servlet Example</title>
</head>
<body>
	<form action="DoLogin" method="POST">
		Username: <input type="text" name="username"><br /> Password:
		<input type="password" name="password"><br /> <input
			type="submit" value="Press">
	</form>
</body>
</html>
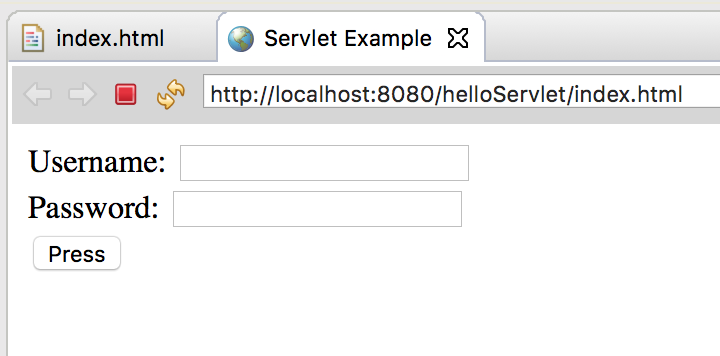
서버를 실행해보면 아래와 같은 결과가 나온다.
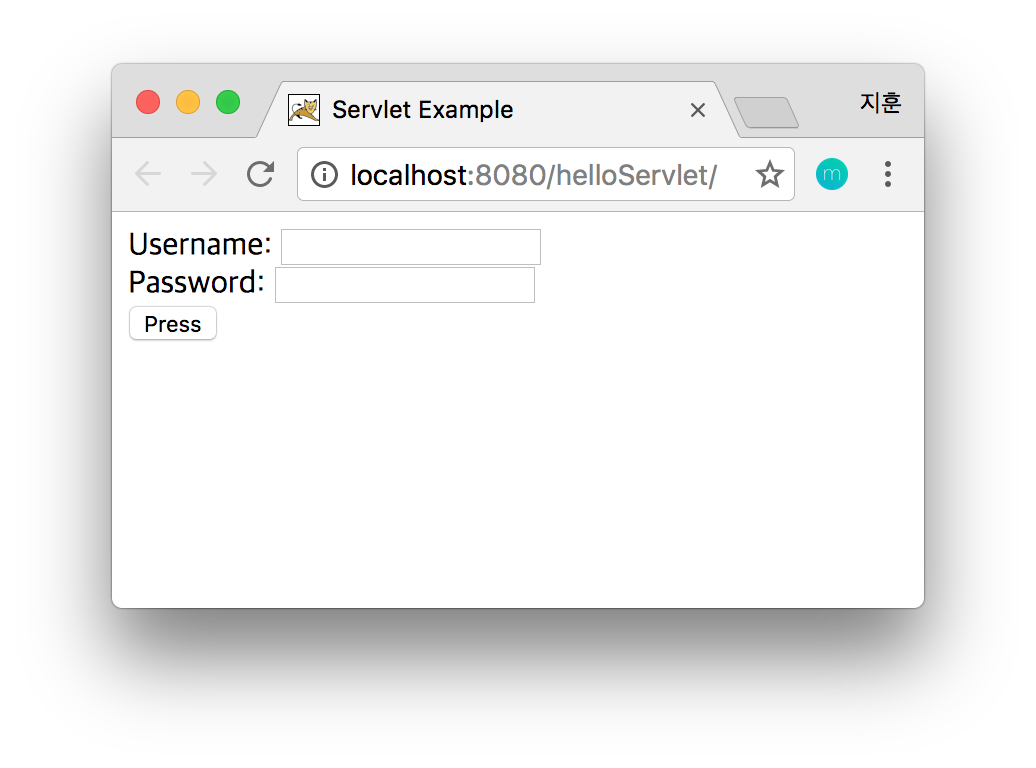
웹 브라우저를 통해서도 실행 가능하고 url에 index.html을 제거하고 http://localhost:8080/helloServlet 까지만 입력하여도 동일한 결과가 나타난다.
username과 password를 입력해서 Press 버튼을 눌러보면
HTTP Status 404 - /helloServlet/DoLogin 오류가 뜬다. 그 이유는 form태그에 action에 설정해두었던 DoLogin logic 을 아직 구현하지 않았기 때문이다.
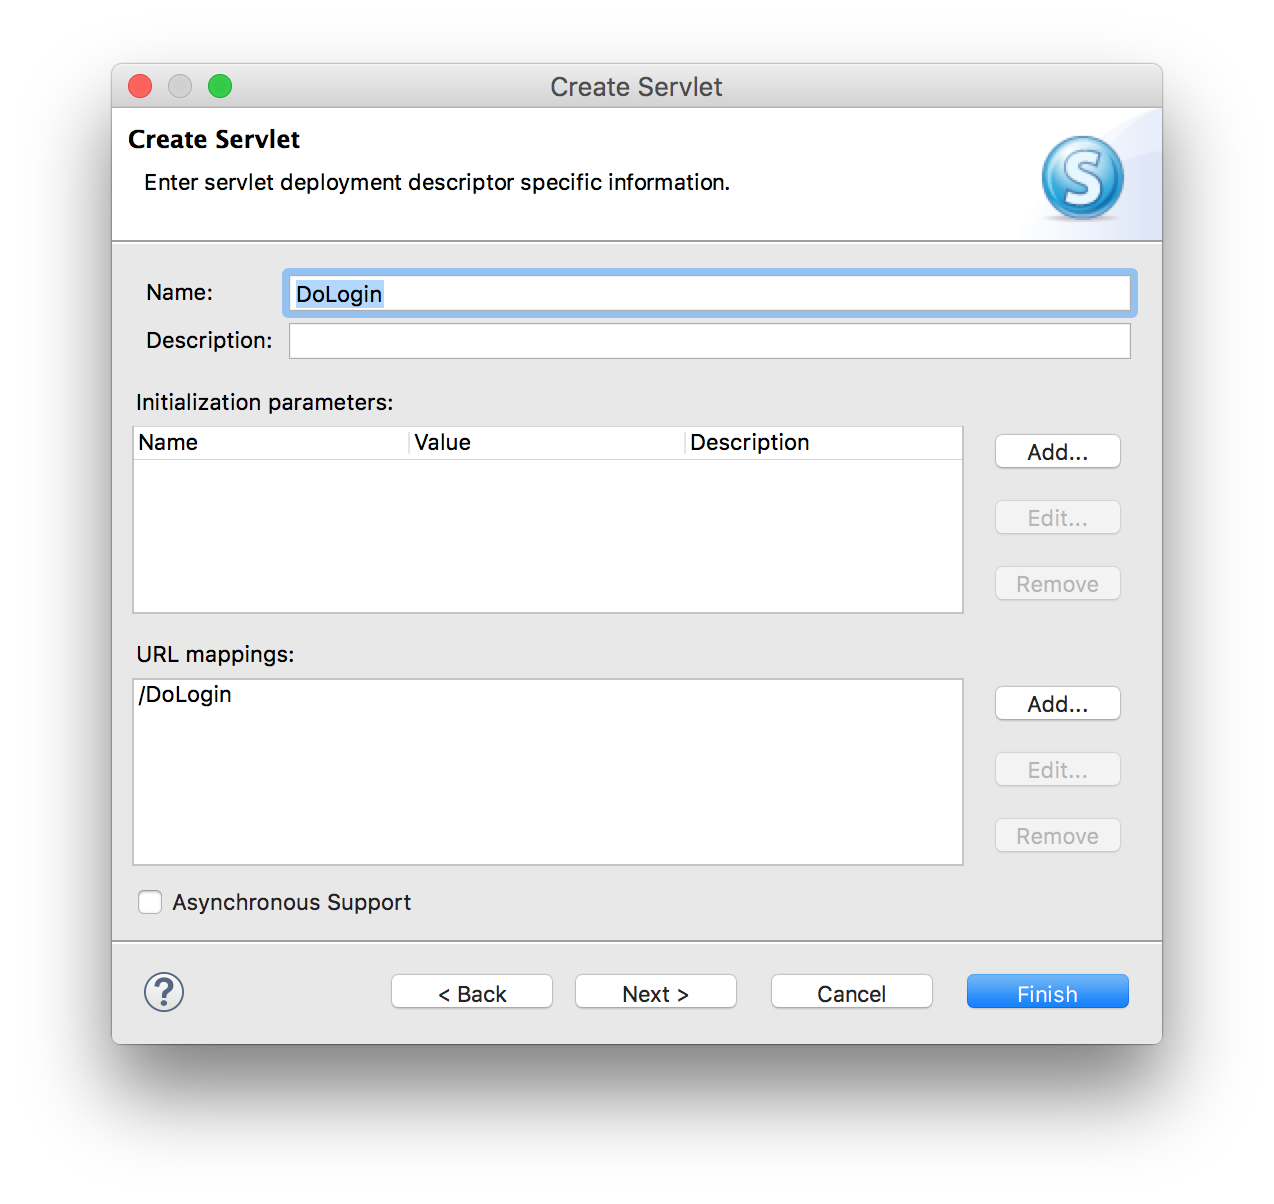
Create DoLogin Servlet
src폴더에 패키지를 하나 생성하고 그 아래에 servlet을 생성한다. POST만 사용할 것이므로 doGet 체크박스는 해제한다.
자동으로 생성된 코드에 요청한 username과 password을 그대로 반환하여 그대로 보여주는 간단한 기능의 코드를 추가한다.
[...]

/**
 * Servlet implementation class DoLogin
 */
@WebServlet("/DoLogin")
public class DoLogin extends HttpServlet {
	private static final long serialVersionUID = 1L;

    /**
     * @see HttpServlet#HttpServlet()
     */
    public DoLogin() {
        super();
        // TODO Auto-generated constructor stub
    }

	/**
	 * @see HttpServlet#doPost(HttpServletRequest request, HttpServletResponse response)
	 */
	protected void doPost(HttpServletRequest request, HttpServletResponse response) throws ServletException, IOException {
		// read form data
		String username = request.getParameter("username");
		String password = request.getParameter("password");

		// perform business logic
		PrintWriter out = response.getWriter();

		// Build HTML code
		String htmlResponse = "<html>";
		htmlResponse += "<h2> Your name is : " + username + "<br/>";
		htmlResponse += "Your password is : " + password + "</h2>";
		htmlResponse += "</html>";

		out.println(htmlResponse);

	}

}
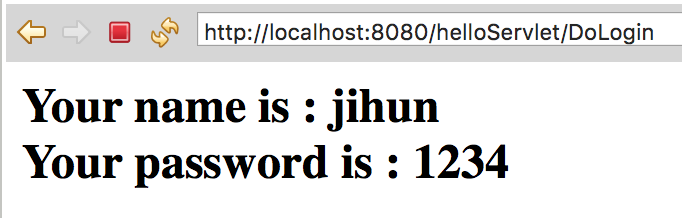
Result
서버를 다시 실행해서 확인해보면 동일한 결과가 나타나고,
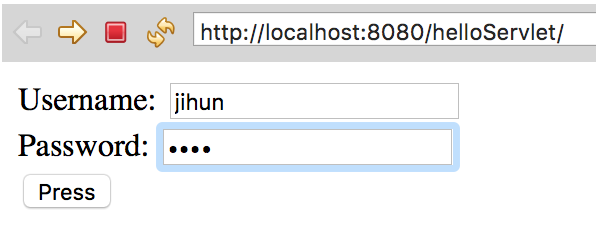
username과 password를 입력하고 press버튼을 누르면 아래와 같은 결과를 반환한다.