Django 프로젝트를 생성하고 처음 시작할 때 도움을 주기 위한 글이다. python 버전은 3.5.2, django 버전은 1.10을 사용하고 가상 환경을 설정하여 진행한다. python 개발환경에 관한 내용은 여기를 참고하면 된다. 또한 진행중인 튜토리얼은 github으로 관리한다.
이 튜토리얼에서는 기초적인 투표 어플리케이션을 만드는 과정을 보여준다.
- 공개된 사이트로 사용자들이 투표 내용을 볼 수 있고, 투표에 참여할 수도 있다.
- 관리자 사이트로 투표를 추가, 변경, 삭제 할 수 있다.
Install & setting
# 프로젝트 폴더 생성
$ mkdir django_tutorial
$ cd django_tutorial

# 가상 환경 설정
$ pyenv virtualenv 3.5.2 django_tutorial
$ echo "pyenv activate django_tutorial" > .env
$ pyenv activate django_tutorial

# Django 설치
$ pip install django==1.10

# python, django version 확인
$ python --version
Python 3.5.2
$ python -m django --version
1.10

# git 설정
$ git init
$ echo ".env" >> .gitignore
$ git remote add origin https://github.com/username/repository.git
$ git add .
$ git status
$ git commit -m "django_tutorial project repository 생성"
$ git push origin master
Creating a project
django_tutorial의 상위 폴더로 이동하여 mysite 프로젝트를 생성한 후 mysite의 하위 파일들을 django_tutorial폴더로 이동한다.
이렇게 하는 이유는 위에서 설정한 개발환경을 그대로 프로젝트에 적용하면서 mysite으로 생성된 프로젝트 폴더 이름을 django_tutorial로 하기 위함이다.
$ cd ..
$ django-admin startproject mysite
$ ls
django_tutorial   mysite
$ mv mysite/* django_tutorial/
$ cd django_tutorial
$ tree .
.
├── manage.py
└── mysite
    ├── __init__.py
    ├── settings.py
    ├── urls.py
    └── wsgi.py
The Development server
manage.py 파일이 있는 위치로 이동하여 다음 명령어를 실행한다.
$ cd mysite
$ python manage.py runserver
Performing system checks...

System check identified no issues (0 silenced).

You have 13 unapplied migration(s). Your project may not work properly until you apply the migrations for app(s): admin, auth, contenttypes, sessions.
Run 'python manage.py migrate' to apply them.

October 04, 2016 - 04:01:05
Django version 1.10, using settings 'mysite.settings'
Starting development server at http://127.0.0.1:8000/
Quit the server with CONTROL-C.
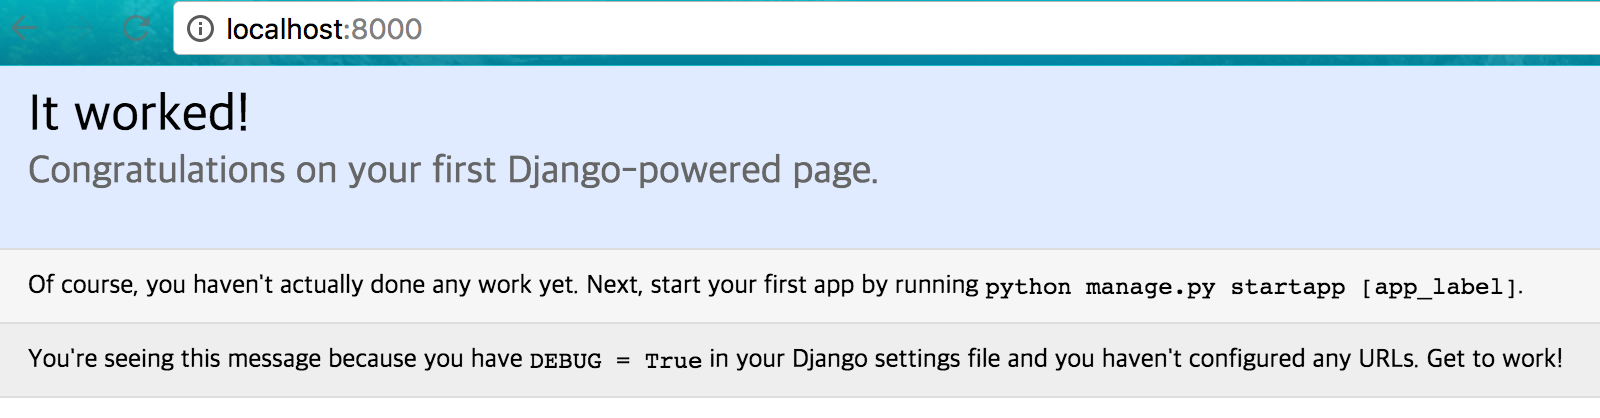
웹 브라우저로 http://localhost:8000/ 에 접속해보면 “Welcome to Django”페이지를 확인할 수 있다.
server의 ip와 port를 변경하고 싶다면 아래와 같이 하면 된다.
$ python manage.py runserver 8080
$ python manage.py runserver 0.0.0.0:8000
개발 서버가 실행 중일 때 코드를 변경하면 서버가 자동적으로 reload된다. (하지만 파일을 추가하는 등의 몇몇 사항들은 reload 되지 않는다.)
Creating the Polls app
이제 Polls 앱을 만들어보자.
$ python manage.py startapp polls
$ tree polls
polls
├── __init__.py
├── admin.py
├── apps.py
├── migrations
│   └── __init__.py
├── models.py
├── tests.py
└── views.py
Write your first view
첫번째 view를 작성해보자. polls/views.py 파일을 열어서 아래의 내용을 작성한다.
# polls/views.py

from django.http import HttpResponse


def index(request):
    return HttpResponse("Hello, world. You're at the polls index.")
view를 호출하기 위해서는 URL을 지정해 줘야 한다.
기본적으로 URLconf는 mysite/settings.py 파일에 ROOT_URLCONF = ‘mysite.urls’으로 설정 되어있다. 우리의 polls앱에 polls/urls.py을 작성하여 이용하려면 mysite/urls.py에 include 해줘야 한다.
polls/urls.py 파일을 생성하여 아래의 내용을 작성한다.
# polls/urls.py

from django.conf.urls import url

from . import views

urlpatterns = [
    url(r'^$', views.index, name='index'),
]
mysite/urls.py 파일을 열어서 include를 import하고 ‘polls.urls’을 include한다.
# mysite/urls.py

from django.conf.urls import include, url
from django.contrib import admin

urlpatterns = [
    url(r'^polls/', include('polls.urls')),
    url(r'^admin/', admin.site.urls),
]
결과 확인
서버를 실행시킨다.
$ python manage.py runserver
웹 브라우저를 실행하고 http://localhost:8000/polls/ 에 접속한다.
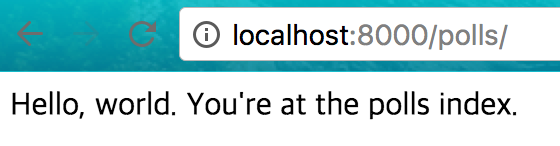
polls/views.py 의 index 페이지가 뜨는 것을 확인할 수 있다.
브라우저에서 ‘localhost:8000/polls/’ url을 호출하면 mysite.urls.py 의 urlpatterns에 정의된 r’^polls/’과 맵핑이 되고 include된 polls.urls.py 에서 views.index를 호출하여 ‘Hello world’ 페이지가 반환되는 것이다.
commit & push
변경 사항을 확인하고 commit, push 하자.
$ git status
On branch master
Untracked files:
  (use "git add <file>..." to include in what will be committed)

	db.sqlite3
	manage.py
	mysite/
	polls/

$ git add .
$ git commit -m "프로젝트 생성 및 Hello world"
$ git push origin master